Table of Contents
Part A
The first part of this lab focused on becoming familiar with the Arduino IDE by running example programs on the Artemis MCU.
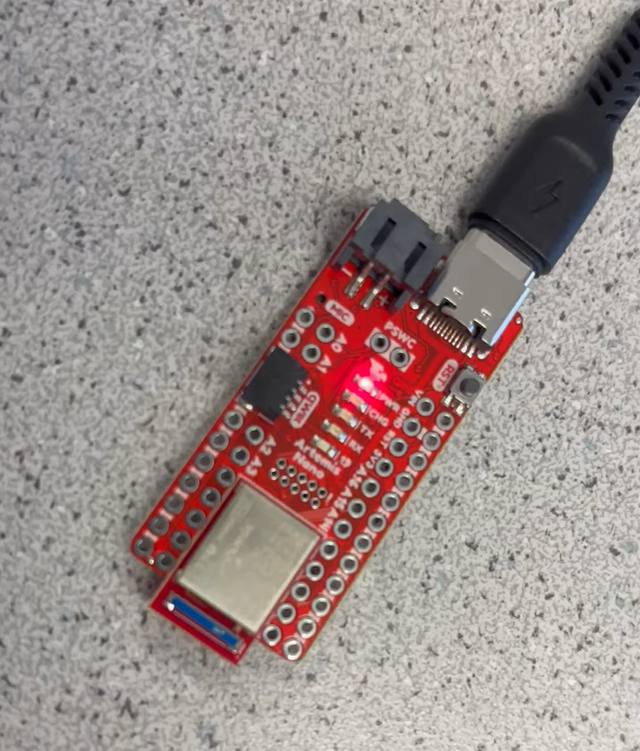
After installing the Arduino IDE and the Artemis Board Manager, I connected the Artemis to my laptop using a USB-C cable. This allowed me to download and execute code from my laptop onto the Artemis.
Blink
The "Blink" program configures the onboard LED in its output state. Then, the program turns the LED on and off by writing a digital 1 and 0 respectively to the LED's pin. To make the LED blink, the code waits one second in between each logic transition. In summary, the LED turns on for one second, then turns off for one second, and then the process repeats. Here is a video of my Artemis executing the blink program:
Serial
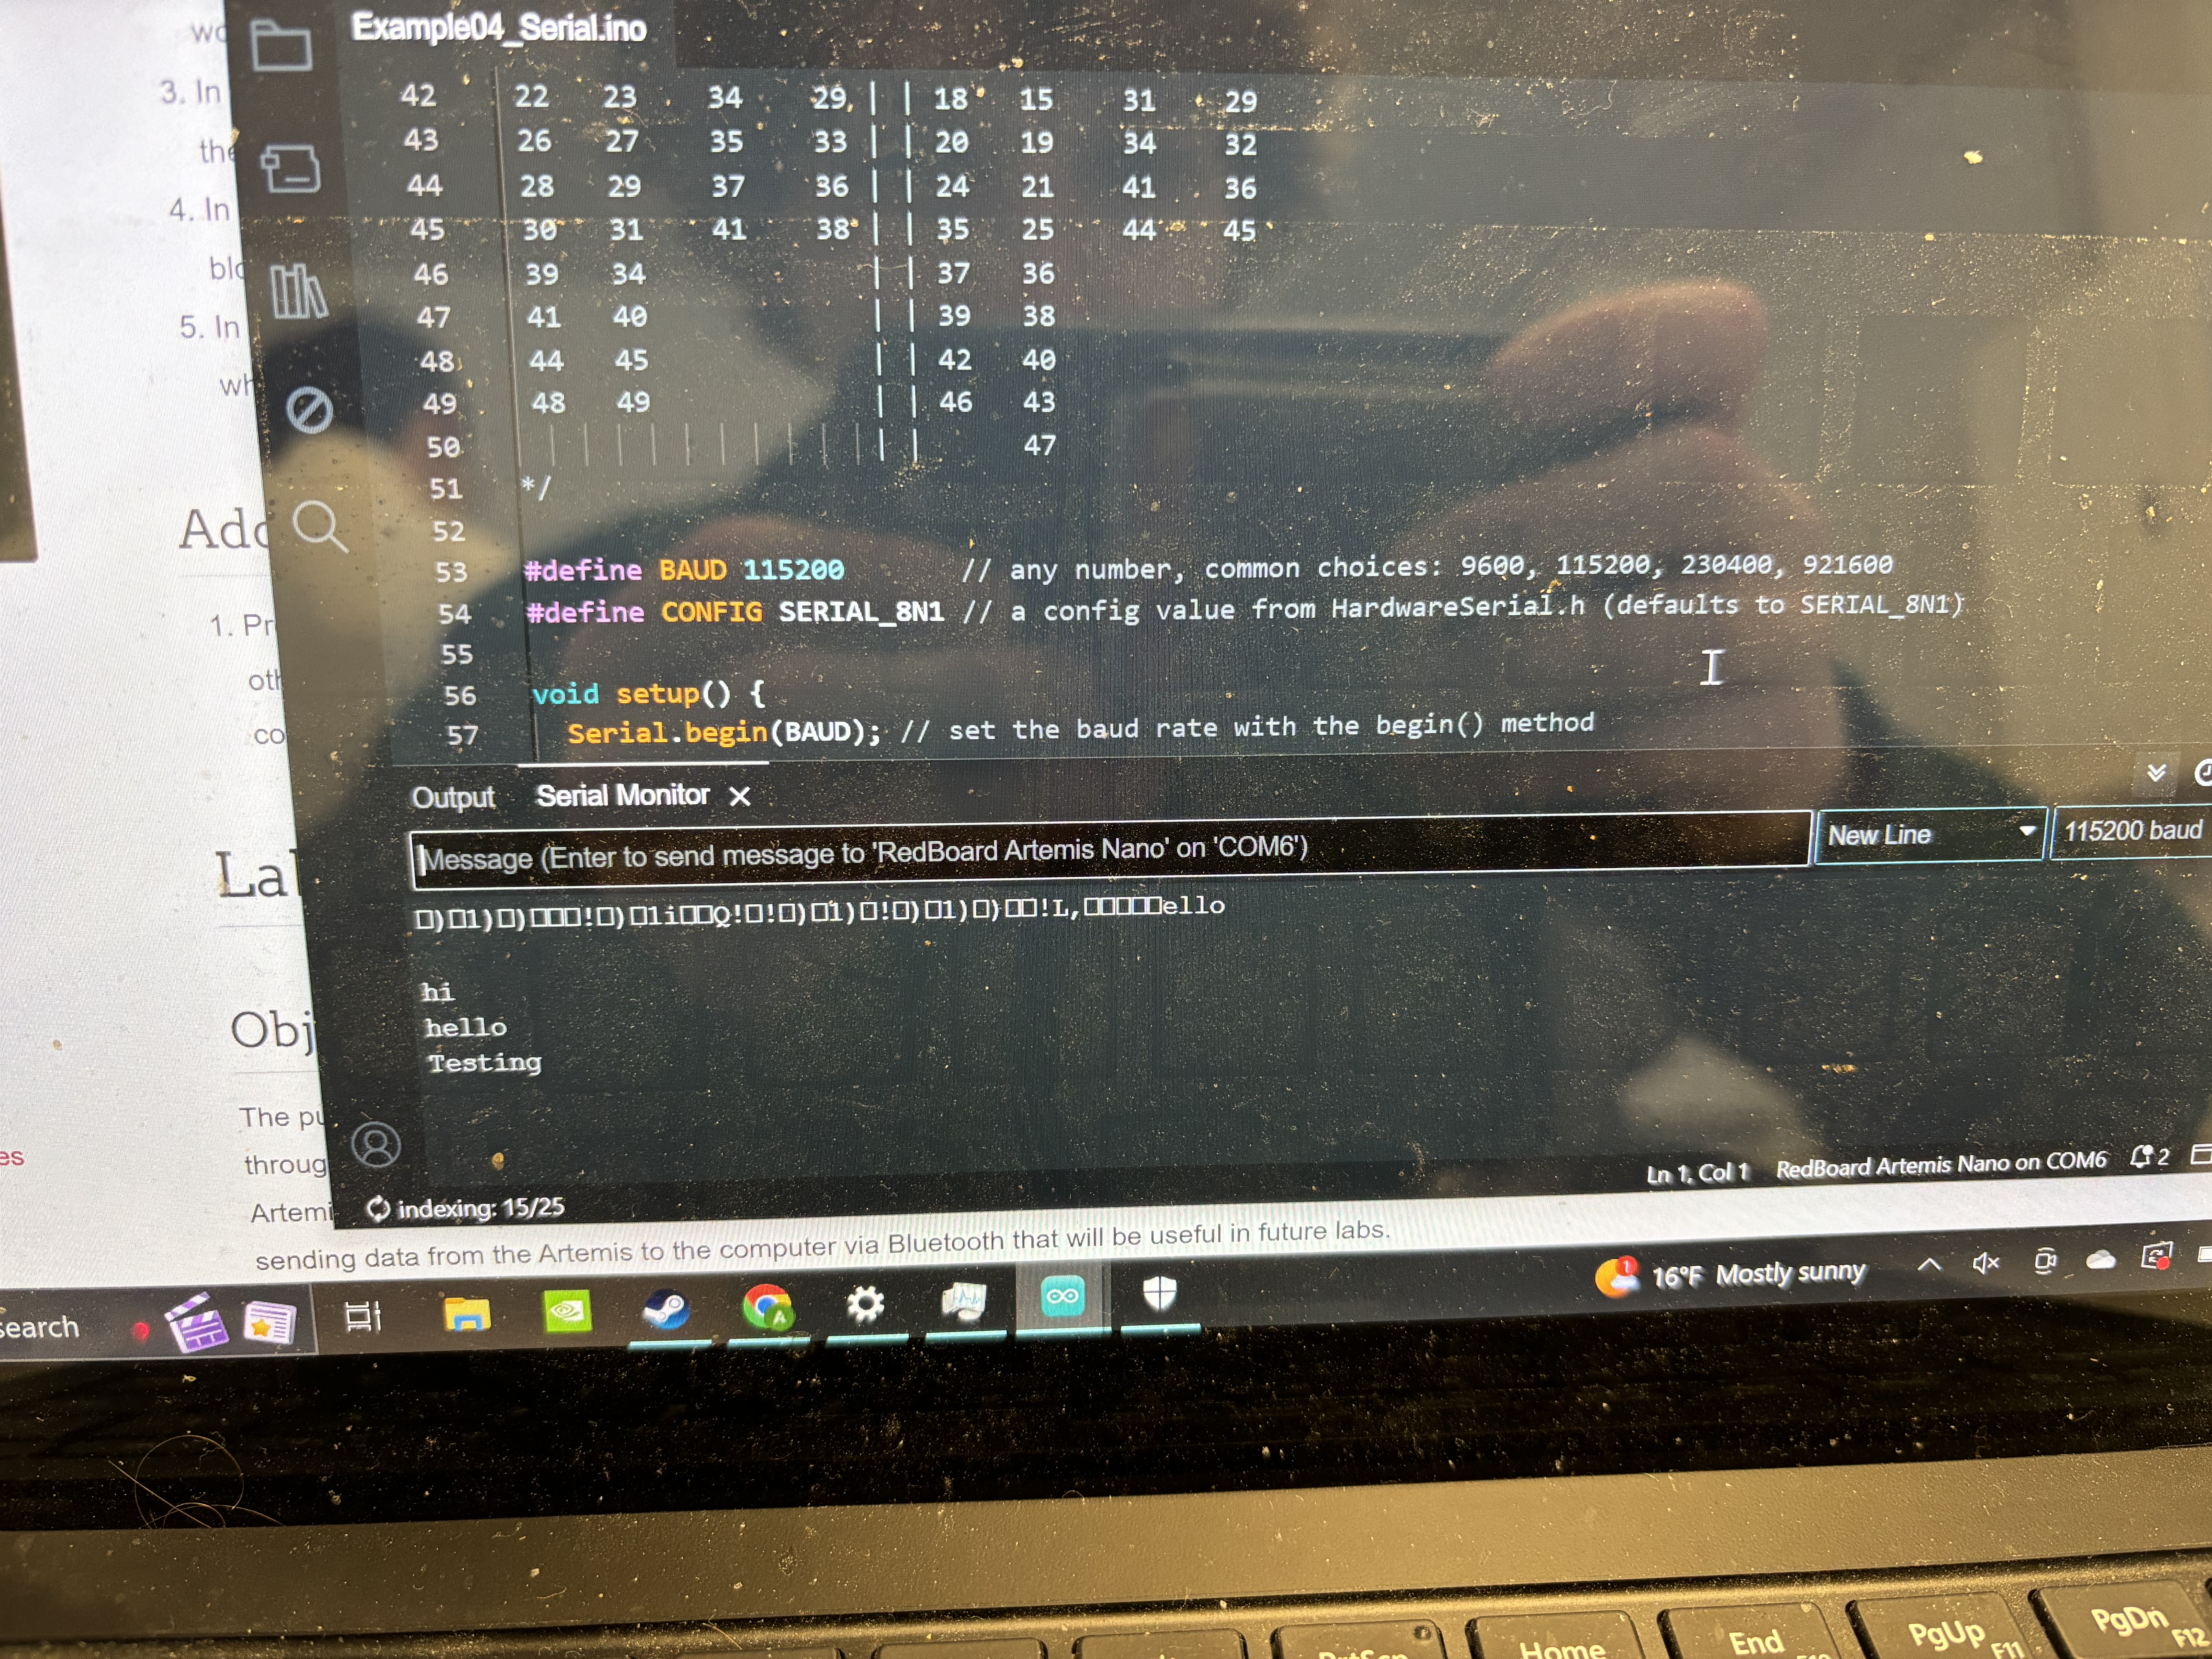
The next example program demonstrated how to use the serial monitor with the Arduino IDE. This program uses one of the Artemis' UART peripherals to communicate with my laptop. The program takes the input entered into the Arduino IDE's Serial Monitor and returns an echoed string. Here is an example of various strings being typed into the Serial Monitor. Note that initially I had set the baud rate incorrectly, which is why the mysterious shapes and symbols appear at the top of the serial monitor.
Analog Read
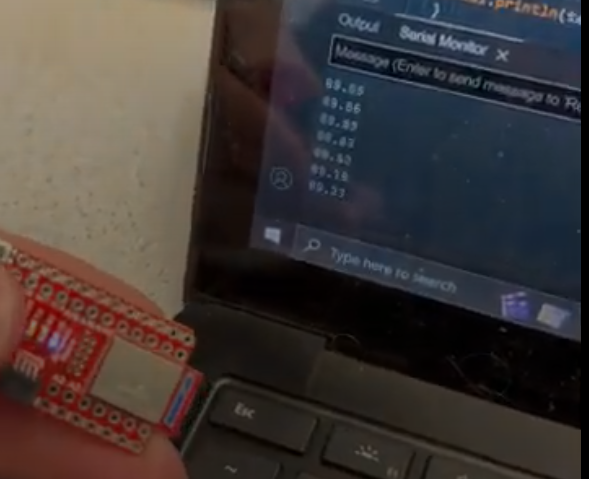
The third example demonstrated how the Artemis board is capable of reading analog data. The Artemis has an on-board temperature sensor which communicates data with an ADC to convert readings into digital values with a resolution of 16 bits. Here is a video of the temperature readings from the Artemis. Note that as I press on the temperature sensor, the recorded temperature slowly begins to rise.
Microphone Output
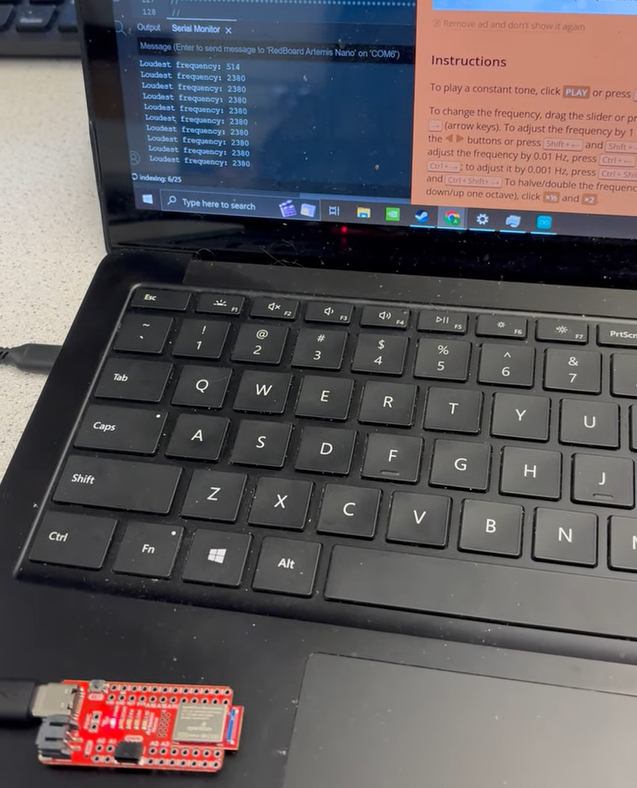
The last example program demonstrated the use of the Artemis' Pulse Density Microphone (PDM). This program computes the FFT of input sound waveforms and prints the highest measured frequency present. Here is a video of the programs output. I used an online tone generator to produce a pure tone of 2830 Hz. When this tone is played, you can see the output of the program print a constant value of 2380 Hz. When the tone is not present, the program outputs the highest frequency of the ambient noise in its environment.
Part B
Overview
This section of the lab introduced the Bluetooth Low Energy (BLE) communication protocol. Since the Artemis will eventually be mounted onto my robot, it is important to establish and test a reliable wireless communication channel so that the robot can recieve and execute commands without needing a cable connection to my laptop. The laptop (PC) code is written in Python, while the Artemis code is written in the Ardunio variant of C++.
BLE operates differently than the standard Bluetooth protocol. In BLE, communication functions similar to a community bulletin board. In this model, peripheral devices (such as the Artemis board) provide services that contain multiple characteristics. Characteristics are specific pieces of data that can be read and written to -- for example, a string. Central devices (such as my PC) interact with the "bulletin board" by reading and writing characteristic values. In larger systems, a peripheral's characteristics may be read by multiple central devices. However, this robot's system only uses one peripheral and one central device. Also, although the BLE protocol supports data of up to 512 bytes, this robot has a capacity of 150 bytes. BLE is a good choice for wireless communication systems that don't need to transfer large amounts of data at fast rates. Additionally, since my robot will be powered by an 850 mAH battery, it is important to have a communication protocol that doesn't use a large amount of power.
Setup
Although I already had Python installed on my laptop, I needed to establish a virtual environment to ensure that my Python code would run properly. To do this, I created a directory called ./ECE4160 to organize my work for this class, and then entered the following commands into my laptop's shell:
python3 -m pip install --user virtualenv
python3 -m venv FastRobots_ble
.\FastRobots_ble\Scripts\activate
To develop and execute Python code on my PC, I used a Jupyter Notebook. I launched this process by executing this command into my shell:
jupyter lab
Lastly, I installed the ArduinoBLE library on the Arduino IDE. This is necessary for the provided Arduino source code files to compile and execute properly.
Bluetooth Configuration
When the Artemis loads the BLE control code, it prints a unique mac address. This is used by the PC to ensure that it communicates only with my Artemis board. In lab settings, there are 20-30 other Artemis boards and robots, as well as numerous other bluetooth devices, so it's important to ensure that I am communicating with my board and not another device. In addition to configuring the MAC address, I also generated a Universally Unique Identifier (UUID) to ensure that my PC would communicate with my specific Artemis Board. This UUID is used in both the PC and Artemis code as seen below:
artemis_address: 'C0:81:D5:22:09:64'

ble_service: '15eadab3-adb1-4b42-8cde-012462138583'

characteristics:
  TX_CMD_STRING: '9750f60b-9c9c-4158-b620-02ec9521cd99'

  RX_FLOAT: '27616294-3063-4ecc-b60b-3470ddef2938'
  RX_STRING: 'f235a225-6735-4d73-94cb-ee5dfce9ba83'
Tasks
Echo
The first command that I implemented was the ECHO command. This command sends a string from the PC to the Artemis. Once the Artemis recieves the string, it modifies it by adding the phrase "ArtemisSays->" before the recieved string. This command demonstrates the Artemis' ability to recieve and modify string data.On the Artemis side, I implemented this command (and all future commands) as a case statement in the handle_command() function.
tx_estring_value.clear();
tx_estring_value.append("ArtemisSays->");
tx_estring_value.append(char_arr);
tx_characteristic_string.writeValue(tx_estring_value.c_str());

Serial.print("Message Sent Back: ");
Serial.println(tx_estring_value.c_str());
On the PC side, I used the send_command method from the ArtemisBLEController class to send the ECHO command and the input string to the Artemis:
ble.send_command(CMD.ECHO, "Checkpoint 1: Sending a string")
When the PC sends this command to the Artemis with the string shown above, it recieves and prints the following string:
ArtemisSays->Checkpoint 1
Send Three Floats
The next command that I created was SEND_THREE_FLOATS. This command sends three float values from the PC to the Artemis. The Artemis stores this data but does not return anything to the PC. On the Artemis side, this command was implemented by recieving the most recently transmitted float values separated by the "|" character.float val_a, val_b, val_c;
success = robot_cmd.get_next_value(val_a);
if (!success)
return;
success = robot_cmd.get_next_value(val_b);
if (!success)
return;
success = robot_cmd.get_next_value(val_c);
if (!success)
return;
On the Python side, I again made use of the send_command method:
ble.send_command(CMD.SEND_THREE_FLOATS, "1.0|2.0|3.0")
Recieving Time Data
Since the robot needs to be able to collect and process data in a time sensitive manner, it is also important to be able to collect raw time data from the robot. To measure the current time, I used the Ardunio millis() function which returns the current time in milliseconds since the Artemis board began running its current program. In order to send this data to the PC without error, I converted the time data from unsigned long to an integer data type. This does not result in any loss of performance, and if I end up needing a higher level of precision, I can use the Arduino micros() function.Here is my implementation of this command on the Arduino side as well as the command being called and its output on the PC side:
tx_estring_value.clear();
tx_estring_value.append("T: ");
tx_estring_value.append((int)millis());
tx_characteristic_string.writeValue(tx_estring_value.c_str());
ble.send_command(CMD.GET_TIME_MILLIS,"")
T: 1008977
Notification Handler
Next, I implemented a notification handler on the Python side. When a BLE characteristic is in NOTIFY mode, it will notify the PC each time a characteristic value is updated. With a notification handler, one can control the PC's response to different types of data. For example, one may wish to simply print a recieved time data value but choose to append recieved temperature data to a list instead of printing it. While my notification handler is quite simple now -- it only prints the data it recieves -- it will likely expand when future sensors, such as the IMU and TOF sensors, are added to the robot. Here is my implementation of the notification handler on the Python side:def notification_handler(uuid, value):
raw_value = ble.bytearray_to_string(value)
if raw_value[0:5] == "TIME:":
end_time_data = raw_value.find("TEMP:")
time_list.append(raw_value[5:end_time_data])
temp_list.append(raw_value[end_time_data+5:])
else:
print(raw_value)
ble.start_notify(ble.uuid['RX_STRING'], notification_handler)
Sending Time Data - Looping
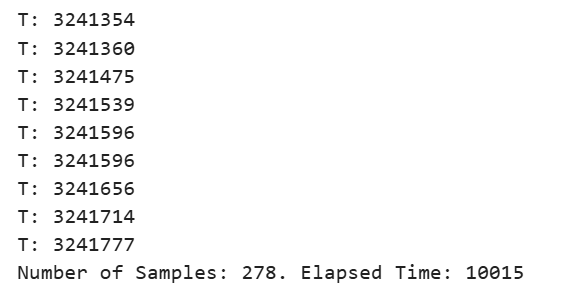
Often, one is interested in collecting multiple data points of time values. My next task was implementing a command that would loop for several seconds. Each loop cycle, the Artemis would collect the current time value and transmit it to the PC. I collected time data for ten seconds with this loop. For the total time of the loop, which amount to be 10.015 seconds, 278 data samples were send. This results in an effective data transfer rate of ~27 samples per second. However, not all of the data samples were recorded and delivered in the same amount of time, as seen in the picture below. For example, the time difference between the last two samples was 63 ms while the time difference between the previous two samples was 60 ms.My implementation of the command in Arduino, the code I used to call the command in Python, and the output in Python are shown below:
int start_time = (int)millis();
int current_time = start_time;
int count = 0;

while(current_time < start_time + 10000){ // Collect data for 10 Seconds
    tx_estring_value.clear();
    tx_estring_value.append("T: ");
    tx_estring_value.append((int)millis());
    tx_characteristic_string.writeValue(tx_estring_value.c_str());

    count++;
    current_time = (int)millis();
}

tx_estring_value.clear();
tx_estring_value.append("Number of Samples: ");
tx_estring_value.append(count);
tx_estring_value.append(". Elapsed Time: ");
tx_estring_value.append(current_time - start_time);
tx_characteristic_string.writeValue(tx_estring_value.c_str());
ble.send_command(CMD.TIME_LOOP,"")
Sending Time Data - Arrays
This command executes a similar procedure as the looping method for sending time data. However, instead of transmitting each data point directly after it is measured, the array method first collects all of the data and stores it an array. Once the Artemis had finished measuring all of its data, it transmits the entire array to the PC for processing.For this command, I began by creating a global array of size 1000, allowing for up to 1000 data points to be measured in the alloted collection time. I initially set the collection time to be one second. However, the Artemis was able to collect data extremely fast, resulting in the array filling up in much less than a second. It took roughly 21 ms for the array to fill up, meaning that the Artemis is able to collect data at a rate of 47 samples per millisecond -- much faster than the looping method.
I added a time delay using the Arduino function so that the Artemis would only collect data once every millisecond. When time critical tasks are implemented on the robot, I will substitue the delay() function with a non-blocking time delay.
On the Arduino side, the implementation looked like this:
// Global Scope
#define TIME_ARRAY_SIZE 1000

int time_stamps[TIME_ARRAY_SIZE];

// Handle Command Case Statement
int start_time = (int)millis();
int current_time = start_time;

int index = 0;
// Record Time Data Rapidly
while(current_time < start_time + 1000 && index < TIME_ARRAY_SIZE){ // Collect data for 1 Second
    time_stamps[index] = current_time;
    current_time = (int)millis();
    index++;
    delay(1);
}

// Send Array of Time Data
for(int i = 0; i < index; i++){ // If array does not fill in alloted time, only send recorded values and not empty indicies
    tx_estring_value.clear();
    tx_estring_value.append("Time: ");
    tx_estring_value.append(time_stamps[i]);
    tx_characteristic_string.writeValue(tx_estring_value.c_str());
}
break;
And calling in Python:
ble.send_command(CMD.SEND_TIME_DATA,"")
And a sample output:
Time: 12301
Time: 12301
Time: 12303
Time: 12304
Time: 12305
Time: 12306
Time: 12309
Time: 12311
Time: 12314
Recording Temperature Data
Recording time data by itself can be useful, but often one wishes to record sensor values along with their corresponding time values. The function GET_TEMP_READINGS uses the array collection method to record both time and temperature values.On the Arduino side, my implementation looked very similar to the array method for recording time data. I changed the delay time to 10 milliseconds, resulting in a more reliable stream of data being recorded. I also created a macro that allows the user to easily change how long they'd like to record data for in milliseconds.
// Macros and Global Variables
#define TIME_ARRAY_SIZE 1000
#define TEMP_ARRAY_SIZE 1000
#define RECORD_TIME 2000

int time_stamps[TIME_ARRAY_SIZE];
double temp_stamps[TEMP_ARRAY_SIZE];

// Command Implementation
int start_time = (int)millis();
int index = 0;
// Record Time Data Rapidly
while((int)millis() < start_time + RECORD_TIME && index < TIME_ARRAY_SIZE){
    // Collect data for RECORD_TIME ms
    time_stamps[index] = (int)millis();
    temp_stamps[index] = getTempDegF();
    index++;
    delay(10);
}

// Send Array of Time Data
for(int i = 0; i < index; i++){
    // If array does not fill in alloted time, only send recorded values and not empty indicies
    tx_estring_value.clear();
    tx_estring_value.append("TIME:");
    tx_estring_value.append(time_stamps[i]);
    tx_estring_value.append("TEMP:");
    tx_estring_value.append(temp_stamps[i]);
    tx_characteristic_string.writeValue(tx_estring_value.c_str());
}
On the Python side, I implemented a function that resets the global time and temperature data lists before calling the BLE command. I also updated my notification handler to process array data.
def record_temp():
    # Reset Global List Variables
    time_list = []
    temp_list = []
    # Call BLE Command
    ble.send_command(CMD.GET_TEMP_READINGS,"")
The output, with a bit of string parsing, is shown below:
Sample 0: Time is 85109 milliseconds. Temperature is 78.473 degrees Farenheit
Sample 1: Time is 85120 milliseconds. Temperature is 77.441 degrees Farenheit
Sample 2: Time is 85130 milliseconds. Temperature is 78.473 degrees Farenheit
Sample 3: Time is 85140 milliseconds. Temperature is 78.473 degrees Farenheit
Sample 4: Time is 85150 milliseconds. Temperature is 78.473 degrees Farenheit
Sample 5: Time is 85160 milliseconds. Temperature is 79.505 degrees Farenheit
Sample 6: Time is 85170 milliseconds. Temperature is 78.473 degrees Farenheit
Sample 7: Time is 85180 milliseconds. Temperature is 77.441 degrees Farenheit
Sample 8: Time is 85190 milliseconds. Temperature is 78.473 degrees Farenheit
Sample 9: Time is 85200 milliseconds. Temperature is 79.505 degrees Farenheit
Discussion
Both recording methods have their own advantages and disadvantages. The looping method records and transmits data at a slower rate, but allows the PC to recieve and process data in real time. The array method allows data to be recorded extremely rapidly, but the PC does not recieve this data instantaneously. If a process needs to send data to be processed in real time, the looping method should be used. However, if the robot executes a process where a quick reaction time isn't necessary, the array method should be used.As mentioned previously, the array method is capable of recording roughly 47 samples per millisecond. If each sample is one byte, the Artemis' memory of 384 KB would fill up completely in roughly 8.17 seconds. This is extremely fast, which is why I implemented delays in my array recording commands. In practice, each transmitted sample is larger than one byte. For example, the GET_TEMP_READINGS command contains 8 bytes of numerical data plus additional bytes for the string characters. If the Artemis were to sample at its fastest possible rate, its memory would fill up extremely quickly. If each data point is 8 bytes, the Artemis can hold up to 48,000 data points.
If memory needs to be conserved, one could consider using the loop method for transmitting data, as this method uses relatively low amounts of memory when compared to the array method.
This lab introduced me to wireless communication protocols -- specifically Bluetooth Low Energy. Wireless communication is essential for any battery powered system, as running wired communication cables between a robot and its controller would be impractical.
Acknowledgements: I consulted several Stack Overflow and Arduino forum posts to assist with syntax issues with my code. I consulted Nila Narayan's Lab 1B webpage as per Ed Discussion post #8 to build a conceptual understanding of what each task, and particularlly the notification handler, was asking me to implement.